Česky
Česky English
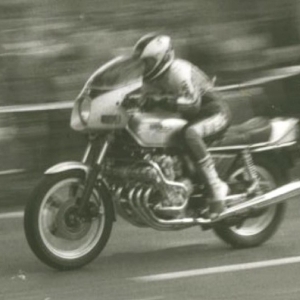


UNIVERSAL SHAPE OF FOAM SEAT
Feel free to be creative and make a foam shape which is convenient for you - it takes just a little bit of the patience!
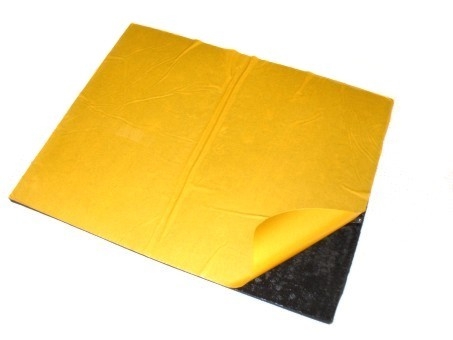
1. To seat foam preparation you will need:
a) sharp cutting knife (or. sharp scissors)
b) sandpaper of different grain (+ underwater grit emery 400)
c) the template of your racing seat, for which is a foam designed (paper / cardboard)
d) pencil
e) environment that you can mess up. (+ Surgical rubber gloves when preparating rubber it colours)
f) rag (cloth)
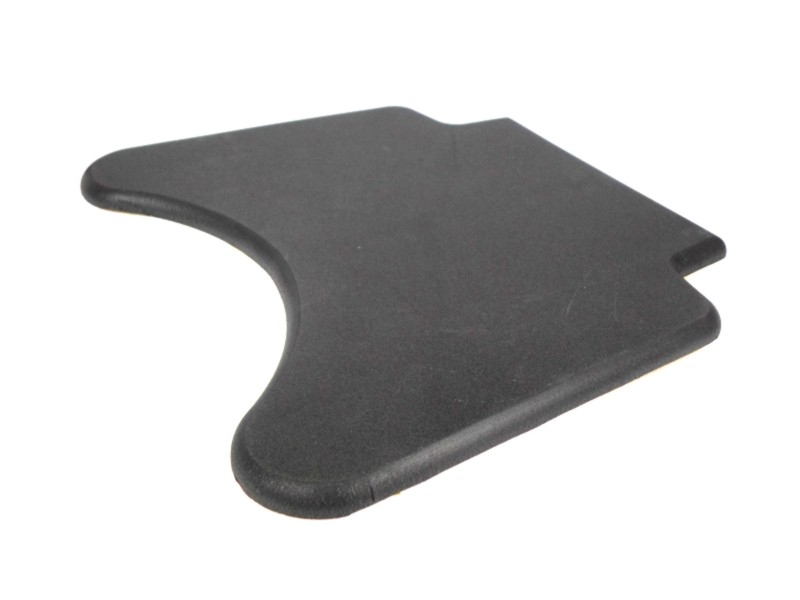
2. First we produce a template eg from cardboard or stiff paper. On the seat part (where we will glue the foam later) mark the center of the seat with a line. Take a large enough piece of paper, fold it in half and attach to the resulting line on the middle of the seat. According to one side of the seat cut the paper folded into the desired shape. Cut both sides at once, thus we created a mirror copy of the other side of the template. (if you would do each side separately, it is not easy to do sides symmetrical). We spread the paper and have a ready template.
3. n the event that a seat have a mounting points, they must be on a template. Make holes in the template in the appropriate places so that you are able to simply mark them on the foam (from both sides).
Take prepared template, attach it to the rubber and mark the shape on the foam..
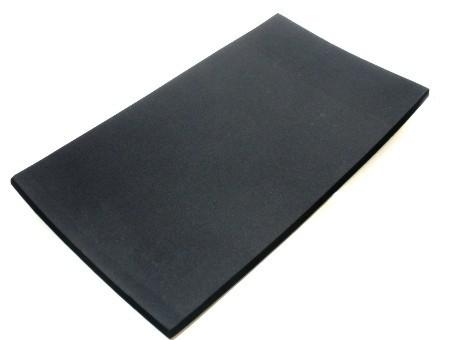
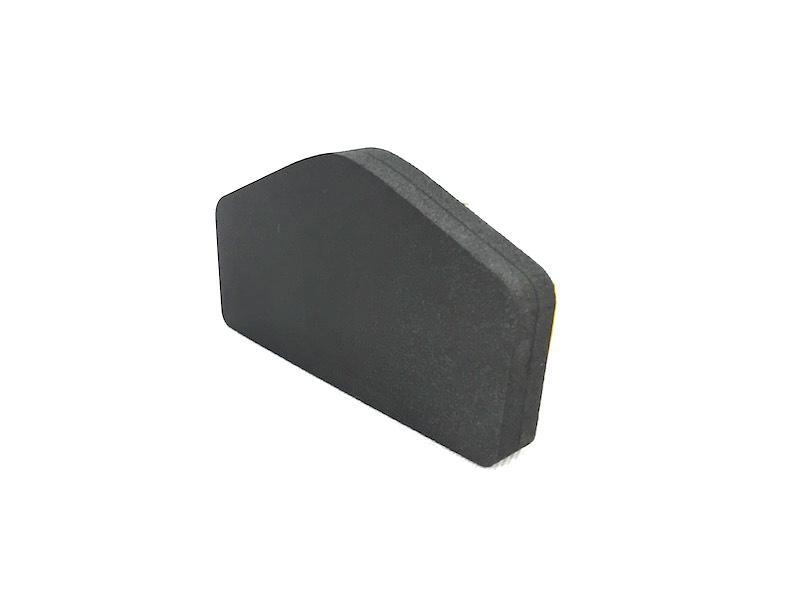
4. The foam, according to the pre-marking LINES, with the sharp cutting knife or sharp scissors cut out. We try the foam on the seat if its fit, we can possibly do a slight adjustment
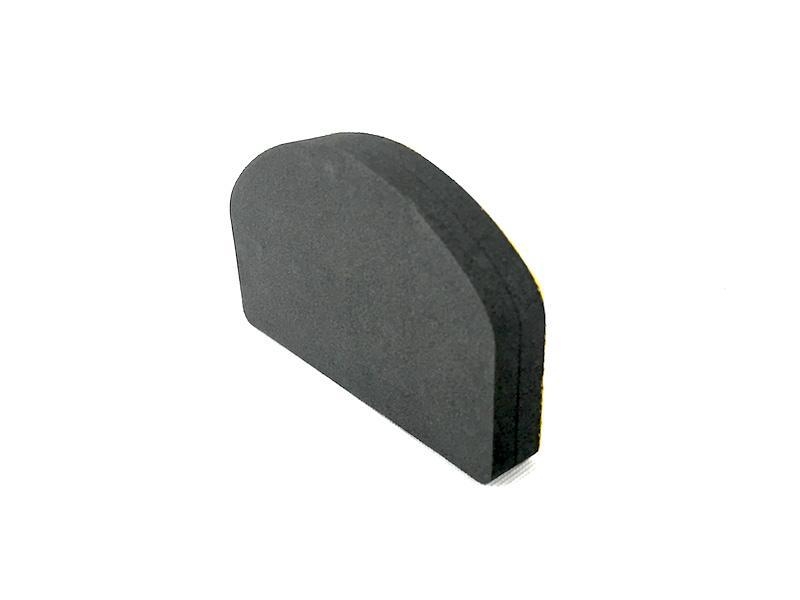
5. If everything is ok, move on to probably the hardest part and it is adjusting rubber itself with grinding, so it had a nicely rounded shapes.
Take a sandpaper (preferably attached to a small wooden cube to fall into the hand better and we had a better feel of the surface), and gently grind the edges of foam into the desired shape, not too fast or too slow,
so we did not tear the foam. Try it in advance on a piece of useless foam.
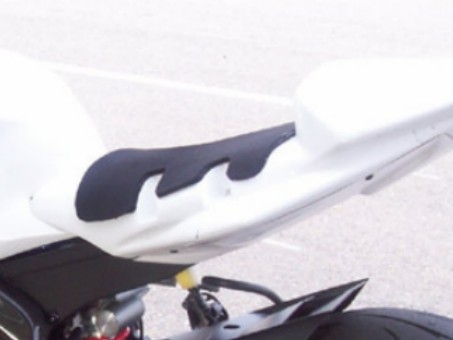
After the rounded edges as you prefer you can sand another part of the seat (rubber) to achieve an ergonomic shape.
Once you have rounded edges rough, take underwater emery (grain 400) and underwater sand all edges tighten to perfection.
During the sharpening check the shape with fitting on the seat that everything looks as you require and how it is symmetrical.
6. In the event that it is necessary to make previously mentioned and indicated holes for mounting point on the seat, we suggests a circular mark on the back of the foam again using a template.
Fold the rubber in these areas in half and cut out with scissors reverse semicircle indicated by the mark. This will give a symmetrical circle.
If necessary, again sand underwater.
7. Dry the foam, clean with a cloth and you can advance for sticking to the seat itself (rear part).
8. If you have pre-loaded adhesive rubber is a little easier, however, if necessary add, for example. Chemopren.
ATTENTION - take care that the seat surface (part, where you seat) has been thoroughly cleaned and degreased (eg. Benzine) to receive desired adherence.
We also recommend installing foam to already painted seat, if you stick gum on the uncoated part and then give the painter, you will add him a work, which will cost you more money.
9. Put some weight on the foam, which will allow the adhesive to dry according to instructions.
Tips use:
- Microporous rubber for use with racing seat or GFK Polster for selfsticking foam.
- You can even put two layers of rubber to add softness.
- Professional riders are commonly used rubber only 1 cm of thickness for a better feel while riding.
- If there is a gap between seat and sub-frame, you may use it as a damping rubber reinforcement.
We wish much success, your team Motoforza
OUR foam seats offer::
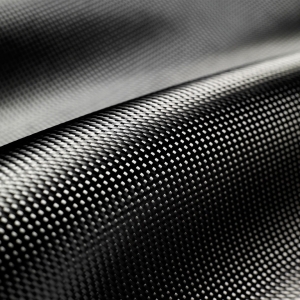
We offer several types of foams to the seat, both universal and pre-cut, in thickness 12mm.